Thursday, February 10, 2011

Clover Market Spring 2011

Life has been utterly consumed with preparations for the Clover Market's spring markets. I will be producing three dates this spring - April 10, May 1, and June 5th - all Sundays from 10 am - 4 pm featuring everything antique, vintage, and handmade for the home. 

I'm very busy reviewing seller applications, trying to get the word out about the Markets, and lining up some great retail shops for a fun "insider's club" concept I'm launching this spring.  More news soon on the Elements front (I have a great family room makeover to share) and don't forget to check out the Clover website!

Wednesday, December 15, 2010

Decorating with Mercury Glass

One of my favorite things to decorate with during the holidays is mercury glass, a common term for silvered glass.  This is glass that was blown double walled, then silvered between the layers with a liquid silvering solution and sealed.  


"Mercury" silvered glass was produced originally from around 1840 until at least 1930 and often decorated with a variety of techniques including painting, enameling, etching, and engraving.  Martha Stewart has some really nice information on the history of the glass at their website.
Image: Martha Stewart Living
True antique mercury glass is very collectible and can get expensive, but to be honest, I have plenty of the knockoffs that are widely available today at Pottery Barn, West Elm, Crate & Barrel, etc.  I know, it's not the real thing, but when you're displaying in large groups like I do it helps to save a few dollars where you can!   And I absolutely mix the new with the old.
A lovely collection on an antique pine sideboard.  Image: Southern Living
Image: Country Living
The beautiful warm glow of mercury glass works so well in many room settings and is a great contrast with woods and painted surfaces.    I keep my collection out year round.

Holiday Entry Inspiration

Well, I've got just about a week until my family arrives for the holidays, so it's going to be a last minute spruce-up of the front porch and door.  Here's my latest inspiration:

I love the color on these twig dogwoods
This would be an easy planter update - some tall branches, greens, and winterberries
I love the multiple wreaths hung with ribbon.  Image: Martha Stewart Living 
A beautiful and non-traditional moss and garland combo here.  Image: Martha Stewart Living
I love the use of the basket here to hold a casual assortment
of greens.  Image: Country Living

A bay and olive wreath from Red Envelope.  Also great in boxwood!
OK OK.  This won't work on the front door, but I love this vintage french book wreath
here on Etsy.  You could do this with old sheet music, book pages, letters, etc.
Time for me to get cracking!  How are you decorating your entry for the holidays?

Friday, November 12, 2010

Why Use an Interior Designer?

People often ask me why it's worth using an interior designer.  There are several key reasons that I would point out:
  • To create a unified design vision for your project 
  • To tap into the collective research and experience of a professional 
  • To obtain access to resources only available "to the trade"
  • To save yourself the time and hassle managing a project yourself
On larger renovations, I view a project space from the standpoint of its usability to the occupants, not the architectural shell. Many of the elements I consider are typically not included on an architect's plans including detailed interior space plans, finish selections, and the relationship of all of the elements in the space to each other (furniture, lighting, fabrics, finishes).  In combination with the expertise of your builder and architect can deliver a fantastic project outcome.  


If you're interested in using Elements for YOUR design project, please feel free to email me at janet(at)elementsdesignllc.com.

Wednesday, October 27, 2010

Llanfair Master Bath

One of the final projects we took on at Llanfair was the very outdated master bathroom. The room had been renovated at some point, likely in the 80's, and included hideous terracotta floor tiles, a shower/tub which was so small that my husband could hardly fit in it, a single sink vanity in white laminate, and a toilet which sat directly under two windows facing the street.  Lovely. 
The shower/tub combo and white laminate vanity
Small storage area next to the shower.
This picture shows the toilet right under the windows to our street
View from the master bedroom into the bathroom
I wanted to design something which was classic, warm, spacious, and luxurious.  In order to achieve this, especially the "spacious" part, we took space from two adjacent rooms in the house. One was a narrow and basically nonfunctional master bedroom closet and the second was another closet from a second floor home office which wasn't needed.

By using this space, we were able to double the square footage in the bathroom, add a shower area large enough for a tall husband, and move the toilet to a much more private location. Finishes like carrara marble and hardwood floors give the room a classic but still warm feeling.


Here were a few fun "in process" pictures that I took while construction proceeded.  Demo moves quickly but creates an amazing mess, especially with the lathe and plaster found in all old houses.  
Shower/tub area at far left
More of the mess - can't even see the floor
Cleanup in progress
AAH - that's better!  View to area of future vanity
All plumbing was updated and reconfigured so we could eliminate the
soffits and open up the overall headroom in the bathroom to a full 8' high.
Framing out the shower - new plumbing located behind the shower controls
View to windows facing the street - in progress.  Glenveigh knows how to keep it NEAT!
Door to the master bedroom - the old toilet has now been moved away from this window
All new HVAC and ventilation
Shower pan being added and the all important water test!
Insulation - getting ready to drywall (somehow I missed capturing this step)
Tile in progress...attention to detail is absolutely KEY 

And, finally, here are my snapshot "after" photos.  Now I just have to finish up with mirrors, some cafe curtains for privacy, and a few strategically placed accessories and I'm done.  
Revamped shower area (in former bedroom closet)
Still looking for the perfect mirrors for over the vanity
View showing moved toilet and shower area
Knee wall separating toilet from shower 
The toilet used to be at the far right under the windows
View from the window wall back
Oversized niche and 1 x 1 accent detail
Construction was handled by Glenveagh who tackled a tricky rework in an old home and a very involved designer/project manager (moi!) with grace, humor, professionalism, and the cleanest job site I've ever experienced.  I highly recommend them if you're in the greater Philly area.  

Llanfair Kitchen, Family Room, Mudroom/Powder Room

I love looking and before and after photos to remind yourself how much things really have changed.  I recently went back through my files and found some amazing shots of my house and the renovations which have been ongoing here for the last several years.

We purchased our c. 1910 home knowing that a full head to toe renovation was in the cards for us once we moved in.  Despite the fact that my boys were very young at the time and life was busy, it was thrilling for me to be able to sink my teeth into a fantastic design project on a historical home and one where the design could really reflect everything that I love.  

In partnership with my builder (J. Schwartz Construction) and architect (JFA Architecture), we came up with a plan for a complete overhaul and expansion of the outdated kitchen and the addition of a family room and the addition of a family-friendly mudroom and powder room which ran along the entire backside  of the house.  Here are some of the "before" shots:

A small cooktop area, the pantry, and the back staircase
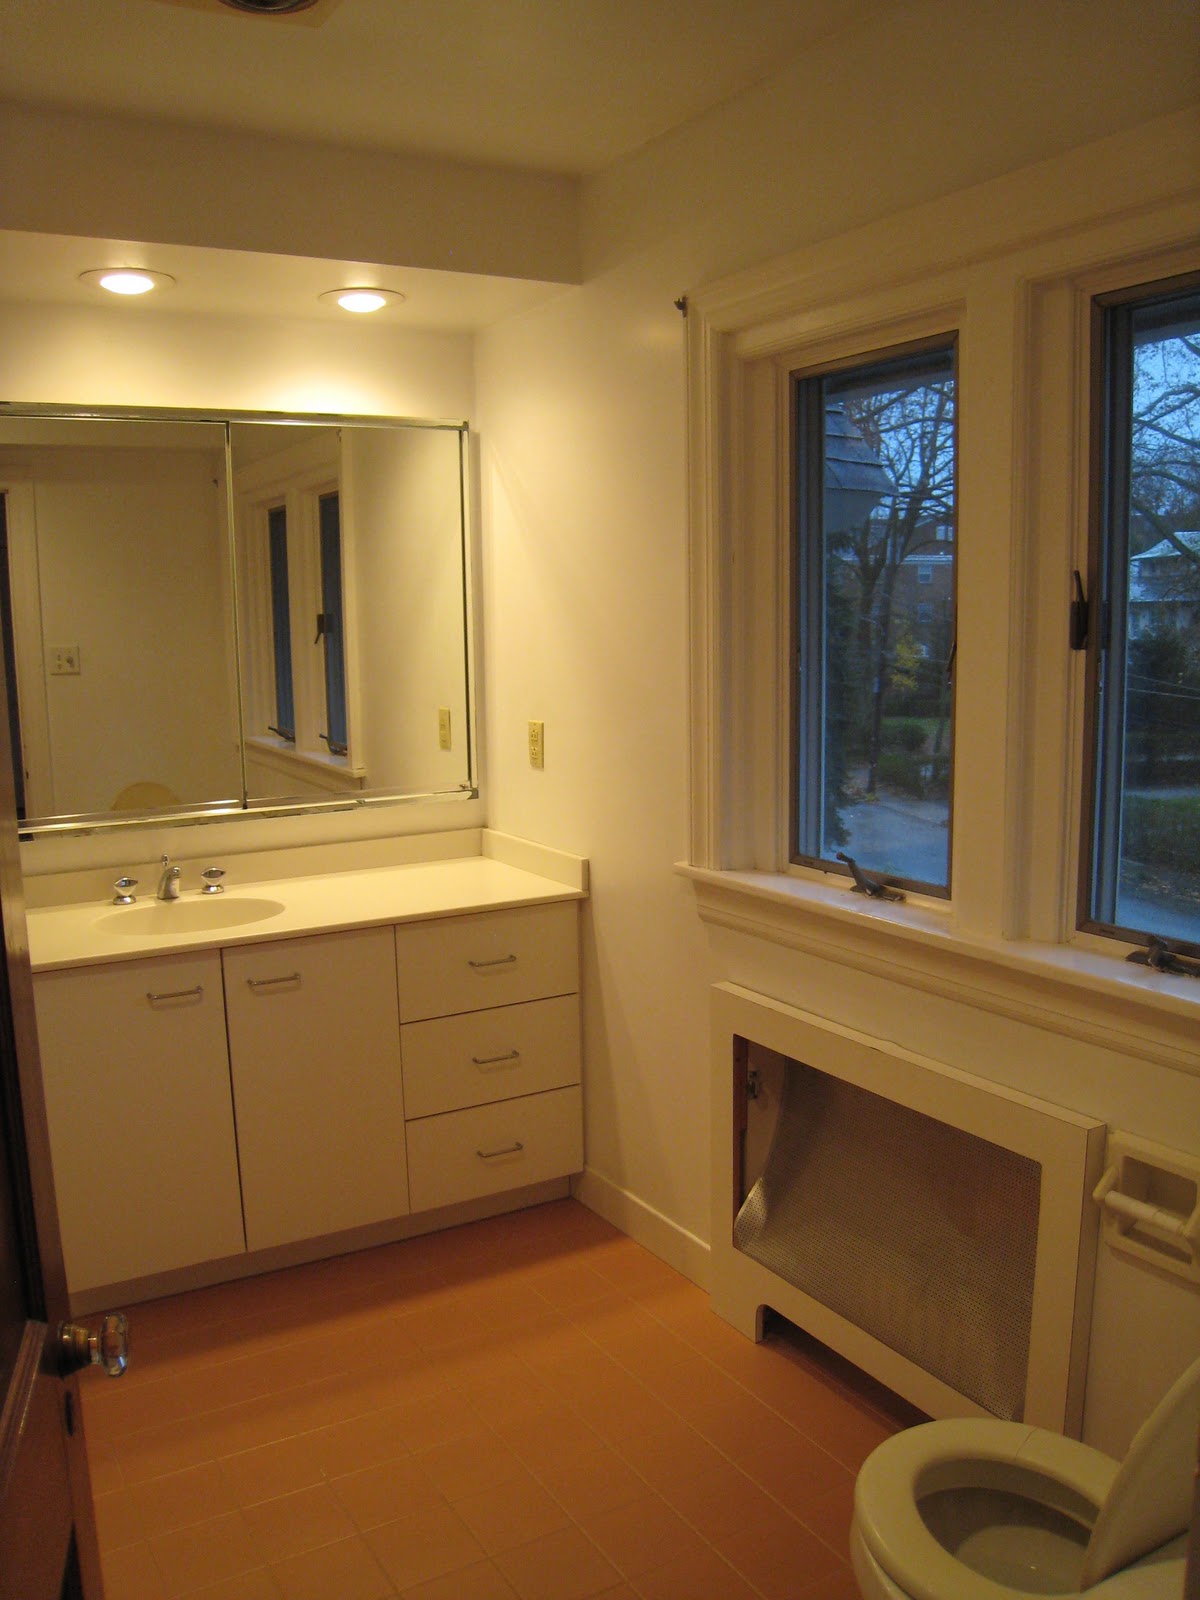
A tiny powder room sat to the right of the fridge.  It was so small that you could sit
on the toilet and easily reach the sink to wash your hands!
This was the small eat in kitchen - only three could fit
at once and we ate in "shifts" with our kids
The little breakfast room is behind the half wall
Here is the Living Room before.  Remember, the house had no family room at all so this functioned as both family and living room.  All furniture is from the prior owner - took these shots during our final walk-through!
Right bookshelf ultimately removed in renovatin
Looking towards the street
This is a view from dining room into butler's pantry.
The doorway was expanded and this is now the new kitchen pantry.
The renovation was extensive and took nearly 10 months to complete.  I can always sympathize with my clients who are living through a renovation since I have "been there and done that", but ultimately the oversight that this provided me was well worth the hassle (and dust!).


My focus was on the design and overall interior flow and orientation, making this new space work for our family down to every last little detail.  I selected all of the finishes (paint, countertops, backsplash, cabinets), appliances, and handled design and sourcing of the critical interior details which give our house real soul such as the reclaimed wood beams in the family room, the custom designed copper island, and the honed, locally-sourced slate floors. 


Here are a few of my (non professional) shots of the living room showing the new furniture, finishes (white trim!) and the new entry into the family room.


Good view of the new entry to the family room for
a totally circular flow of traffic through the house
A game table and chairs will eventually
be placed at the front bay windows


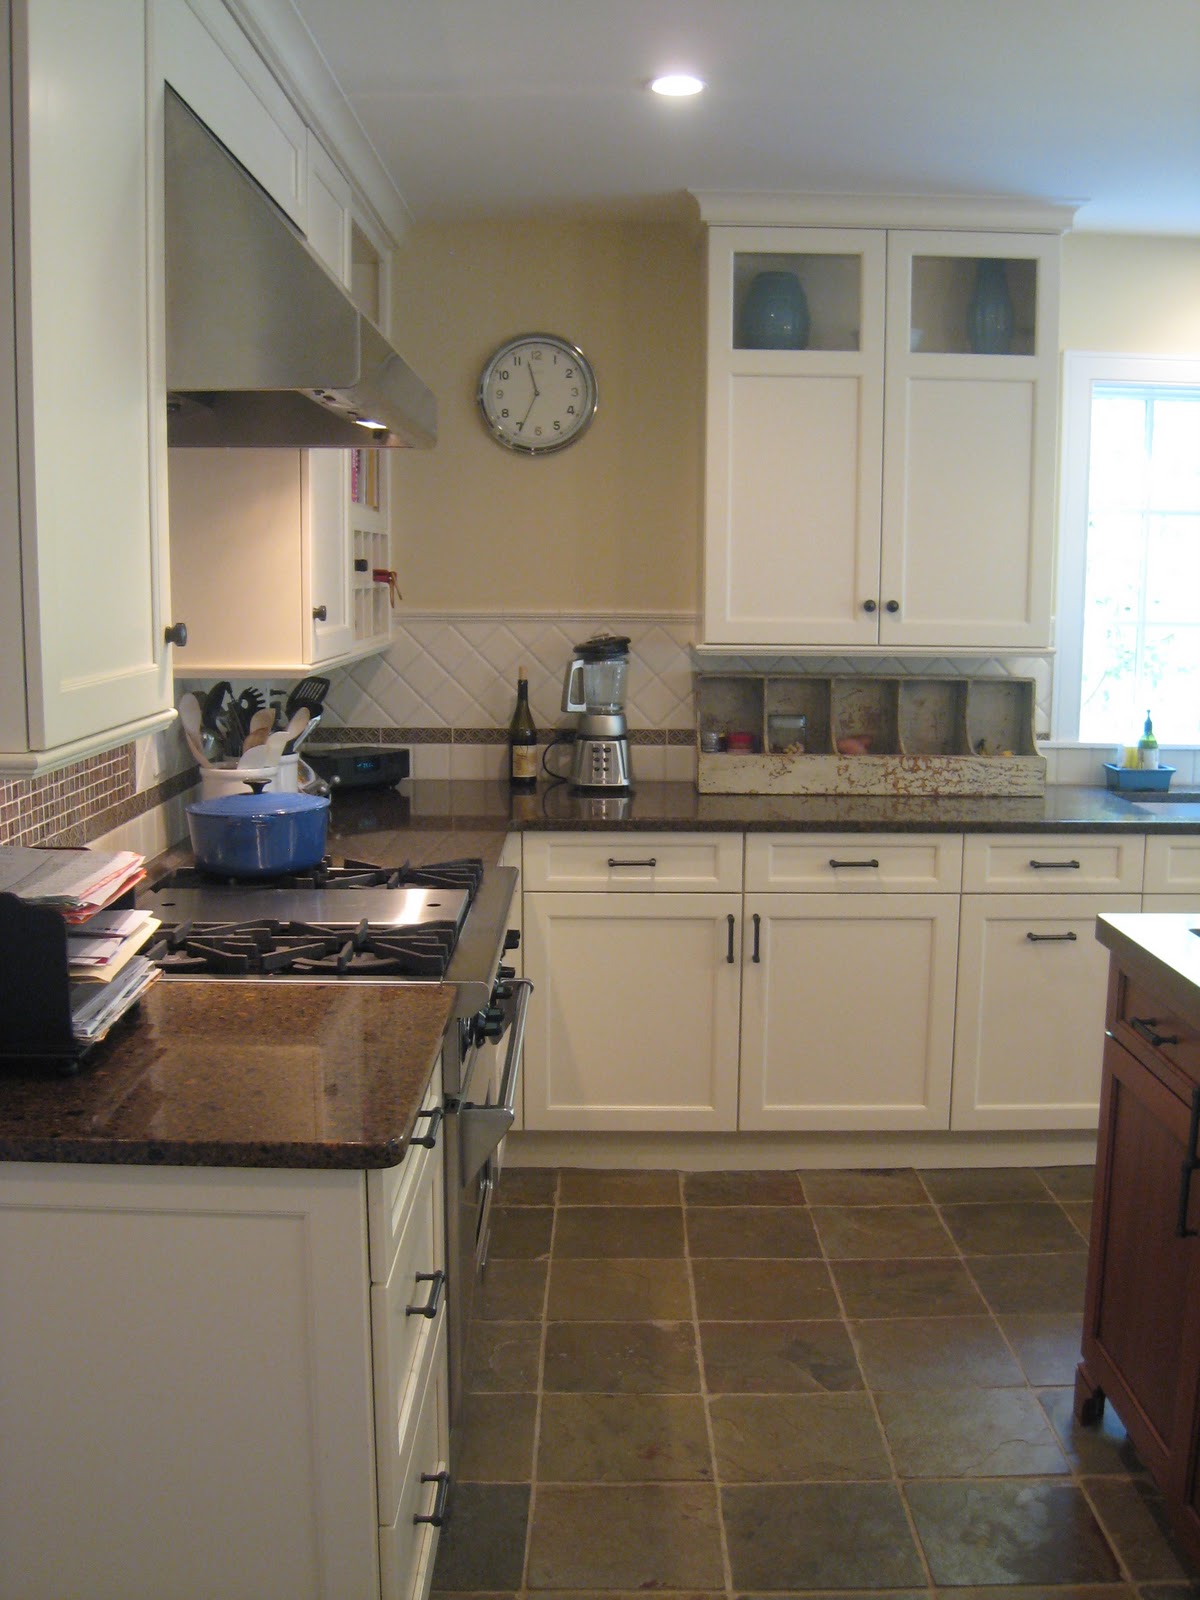
Here are a few shots of the kitchen after.  Please excuse the darkness of the pictures - again, not professionally shot or staged!  Some of my favorite features are the custom copper island, the indestructible slate floor (go ahead kids and dog, just try to destroy it!), and the vaulted ceilings in the breakfast room - a big improvement from our three seater table.  


Good view of the 12 x 12 slate floor tiles


Formerly the old butler's pantry, this is now a new
pantry area, broom closet, and integrated fridge
Another view showing the new widened
opening to the dining room for easy flow


This gives a good sense of the height
and sense of openness in the breakfast area 
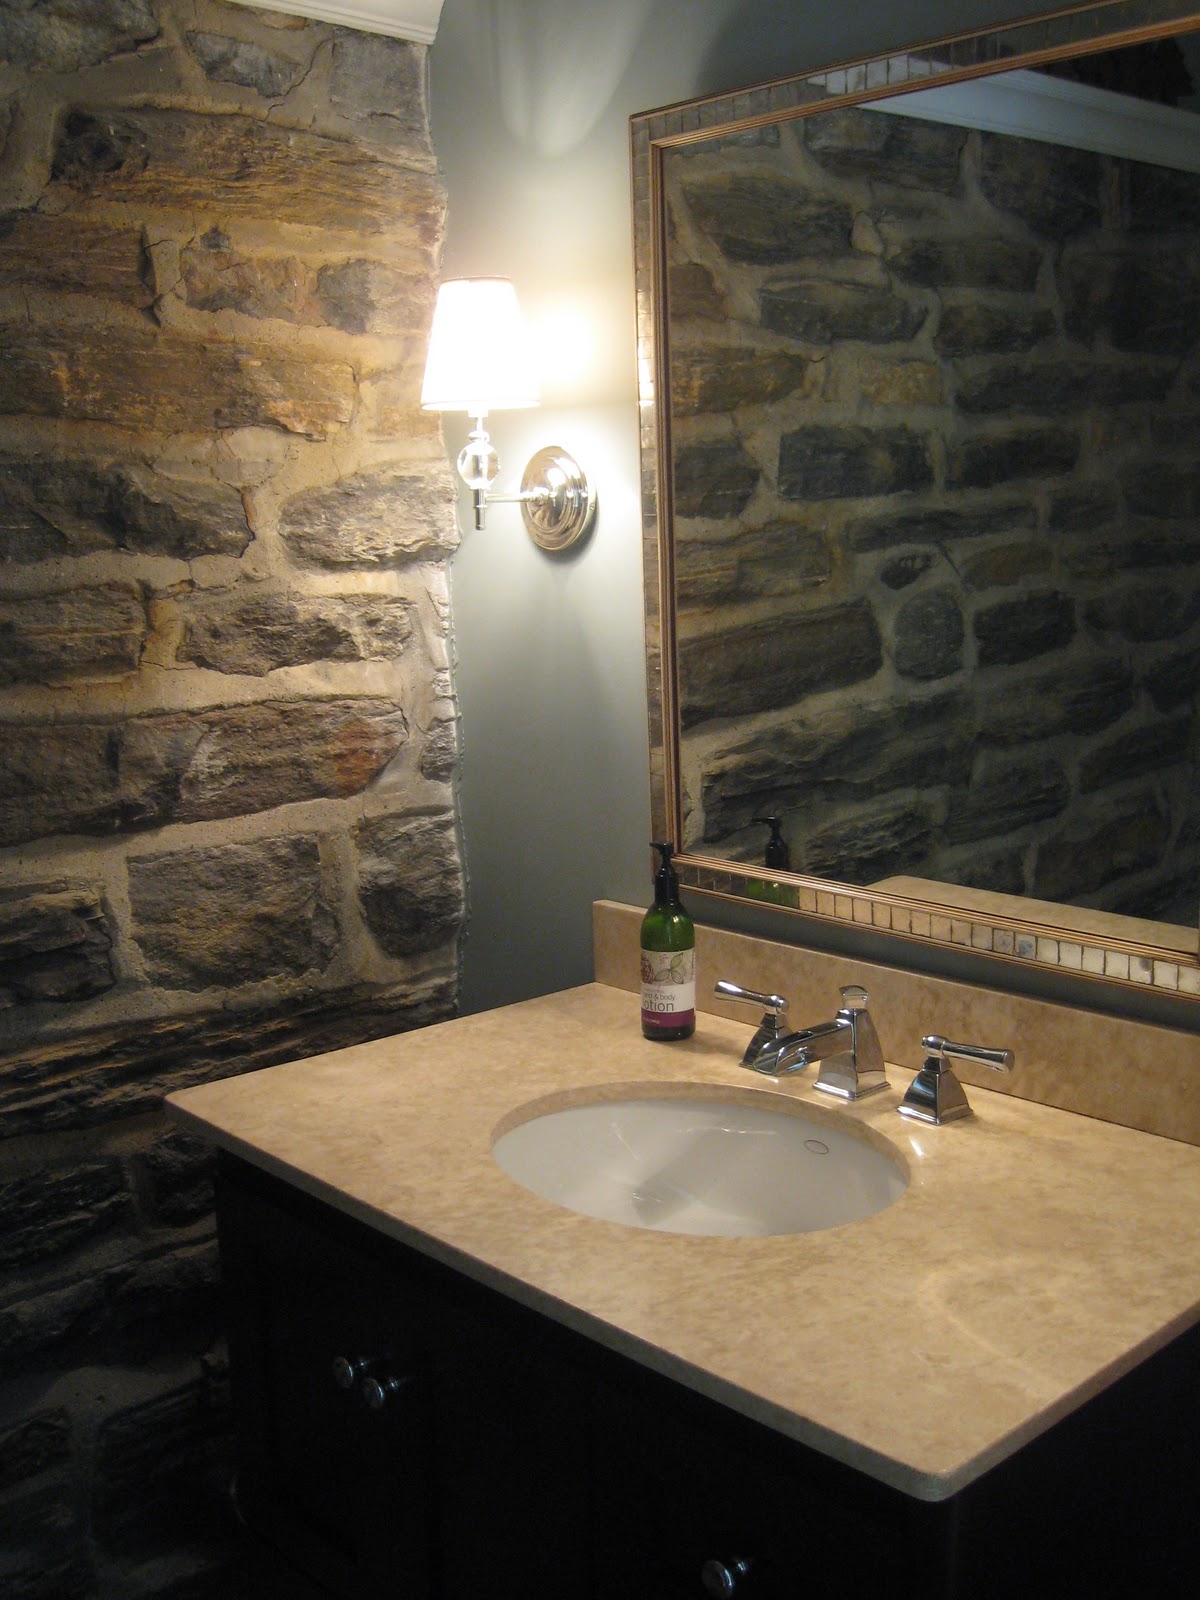
New powder room.  The stone is from the
original exterior of the house.


Decorative shelves flanking the powder
room with pocket door on other side of mudroom

The family room is on the other side
of the mudroom/powder room area
This room also has 15' ceilings and
reclaimed barnwood beams, one of my
favorite elements in the room


This is the original exterior fireplace wall.
Apologies for the glare!
The large closet holds the kids' games and toys


Hope your enjoyed the tour through the Llanfair renovation.  It was a true labor of love and the best reflection of Elements' design aesthetic that I could possibly show.